Saturday, December 21, 2013

Bristyn's Room and Alphabet Wall

Christmas is upon us. I have been trying to declutter my house in an attempt to make room for all the new toys the girls get for Christmas. My latest project..Bristyn's room! I love how it has all come together. It originally was our middle daughter Neely's room, but when we did our house project we moved Neely into our old master bedroom and put Bristyn into Neely's old room.

My inspiration came from the alphabet walls that I seen all over Pinterest (link to my`Kiddos' pinterest board). I also searched Pinterest for a grey wall color. I painted the room a while back, and have slowly added the finishing details. It isn't perfect, but it is simple and cute.

 
The room needed a paint job and I wanted a nuetral base. I also wanted to use bright colors in wall decor to add color to the room. So off I went to Pinterest land to find the perfect inspirational pictures.


I love how it turned out! I bought all the letters at Hobby Lobby. I just randomly spray painted them orange, pink, green and blue. I used Command Strips to hang all the letters. After a couple months they are all still hanging up there great, and luckily Bristyn doesn't mess with them :) 


This is the corner of her room where her closet is. I now need to search Pinterest for some organizational ideas for her closet. 


I love how her mirror turned out! I made it out of scrap wood I found at my parent's house. Funny story, so....one day after work I stopped over at my parent's house to drop something off, and in the fire pit there was a bunch of scrap cut up wood. I was like SCORE!!!! So I loaded it into the back of my suburban. I get back into the car to go home and my oldest daughter is really concerned, which I found odd. She asked me if I had asked Papa for the wood, I replied with no it is just junk wood that he isn't going to use. She was than concerned that I was stealing the wood, I just laughed and reassured her it was fine. Soooo, next day I was talking to my mom on the phone and I was telling her how excited I was for finding that scrap wood at their house to go with the square mirror she had picked up for me at Hobby Lobby. I than proceeded to tell her about Keyauna's concern about me stealing the wood. She proceeded to tell me a story about how all my girls and Papa had got all this scrap wood for the fire pit to have a camp fire one night when they stay over night. My mom also had pictures to go along with the story. I felt bad for taking the wood, but there was more wood, and plus it had started to get super cold at night, so fire pit would have to wait until Spring anyways. So now we have a funny story behind the mirror. 


I just randomly cut the wood at different lengths. I just screwed all the pieces of wood together and I spray painted it after I assembled it. I could have painted the pieces before I screwed the mirror frame together, but I wanted to make sure all the colors were separated, so I just taped off each strip of wood and quick spray painted it according to which color I wanted. I also stained a few of the sticks of wood with Minwax Dark Walnut stain so it would blend nicely with the wooden top of her changing table.


My father-in-law painted and stained this old dresser for me. It has a nice wood top and the rest is distressed. It is so handy as her changing table and it doubles as a dresser.


For her curtains I just used flat sheets from Walmart. They were cheap and long enough. I love how they flow. They are also make a bold statement when you walk into her room.


Bristyn is our third child and after our first two children never sleeping in their crib, we opted for a pack-n-play this time around. The pack-n-play may not be the most design savvy option, but it is practical and functional and most importantly she sleeps like champ in it!! She is now 1 1/2 years old so within the next year or so I am guessing she will be ready for a big girl bed, so we can get a comforter and bed accessories to match her decor.


 Just some more quick pictures of her alphabet wall


~Andrea

Monday, October 28, 2013

Living Room Update and Shelf Styling

Hello! It has only been well over a year since I have posted. In the past year we had baby girl number 3 in May 2012. We named her Bristyn Kay...she is now going on 18 months!! Meanwhile, our 3 bedroom house become wayyyy to small! So we turned it into a 4 bedroom home. We converted our basement family room and office (junk room) into a master bedroom and walk in closet. Now all our girls each have their own rooms and we haven't regretted losing a family room. My husband lost his man cave though :( but it was the extra space we needed to make our home more fuctional.

So with the whole living room swap we brought our basement couch upstairs to our main living area. It isn't the style of couch I would of necessarily bought for the space, but it has ended up working out perfect! My husband and I each get a rocking chair that reclines and the girls have room to sit also...and the darker brown is way better color to keep clean verses our white couch we used to have.


Our current set up in our living room
 
 
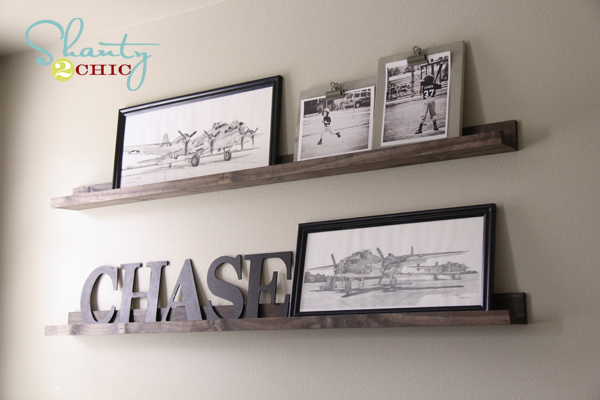
If you can't tell...I LOVE color! My husband helped me build those ledge shelves. They were Pinterest inspired.


She used different sized wood for her shelves. We used 1"x2" for the front lip, 1"x6" for the bottom, and 1"x3" for the back part. Mine are 9ft long. I stained them using Minwax Dark Walnut.We also did screw in the bottom just for extra support versus only using nails.


After about six months of them being empty or with random decor on them, I finally got them decorated.


We will start at the top left of the shelves with the vases and the circle print. I got those all free from co-hosting a Signature Home party. I usally am not a huge "circle" fan, but I love the colors in that print.


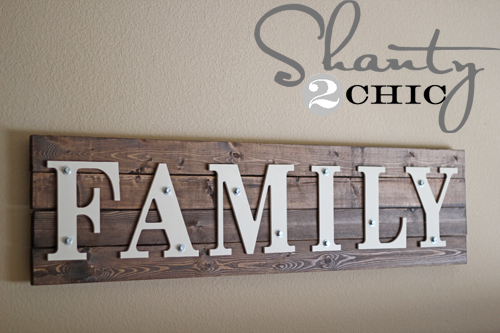
On the far right of the top shelf is my Gustad sign. Once again I got the idea from www.shanty-2-chic.com. I actually made a Family version originally like this one below.


Some friends and I get together about every 6ish weeks and we have Pinterest parties. We each host and pick a project and this was my project....it only took me forever to pre-fabricate all 7 signs, so all the ladies had to do was screw in the bolts! But it was fun and totally well worth all the effort! At the party one of the ladies said it would of been fun to have done our last names...and soooo I made another one and did our last name!


It adds a nice personal touch to our home. Next is the bottom shelf. On the left is just an old antique ceiling tin that I painted green and used magnets to attach a picture to it. I don't have a close up picture of that. Next is the round red wood shim mirror.


All the mirror is made out of is plywood cut in a circle...with large wood shims glued on top of the plywood, cut off the raw edges with a jig saw, painted it red and added a table mirror from Hobby Lobby.

 I love how it turned out! This below piece is from Pier 1.


It is the perfect size and it pulls all the colors together. I also got the multicolored pillow on the couch from Pier 1.

 
Overall, I am pleased with how the whole space turned out. I am excited to post the other changes we have made throughout the house. At the end of the day, it is a happy space to relax in.


--Andrea


Wednesday, April 25, 2012

Under the Sink Organization

It has been over two month since I have posted. I was hoping to make a post every week or at least every other week or at the bare minimum once a month...but oh well. Anywho, everytime I went to get my cleaning products or throw some trash away the mess under my kitchen sink was DISGUSTING!!! But I have ignored it for so long, but finally I decided I needed to do something about it. I don't know if deciding to clean it was from complete annoyance and disgust or nesting instinct, as I am going on nine months pregnant. Whichever it was I am thankful I decided to take on that mess!

Before--I even emptied it out a little.
All that stuff by the sink and on the floor was also under there.
I completely emptied and trashed what was old/out of date and there was tons of empty cleaning containers. I don't know why I felt the need to keep those at one time in my life, but now they are in the garbage.


Yikes! It is embarrassing posting these pictures! That pink stuff in the top picture was really ooey-gooey, perhaps it was spilt dish soap...I don't know. So I took my putty knife and scaped it across the surface and cleaned up the surface the best I could. There had been a small water leak under there one time so the board was damanged and bubbled/flaking. Next, I gathered up my supplies.

-#6 peel n' stick tiles
-tube of all-purpose adhesive
-caulk gun
 Since under the sink was not a completely smooth surface I decided to get some all purpose adhesive to make sure the tiles would stay in place. I applied it to the back of the each tile--I applied a thin bead about 2 inches from the sides all the way around tile and then made and "X" in the middle of the tile with it. I then just layed them down. I started in the front corner and worked my way to the left. When I got to the pipes I just made a notch in the tile. Next, I went to the back corner and I measured the area remaining and then I used a razor blade to score the tile to the appropriate size.


To lay the tile took literally a few minutes. I didn't set a timer, but it took way more time to empty out the area and prep the surface. I didn't allow any dry time for the tile before putting everything back in, it has held up regardless.


I am completely happy with the transformation!! The tiles leave an easy to clean surface. This project costed: $2.24 for the adhesive (I already had the caulk gun) and $.92 for each tile (I used #6) projects grand total was $7.76. I actually could of went much cheaper on the tile, but I liked the color and texture of these, so I paid the extra few cents per square foot :) I got the tile at Lowe's Item #208426 12x12 Terraza Terracotta.


Saturday, February 11, 2012

Princess Castle Valentine's Box

I was so excited when I read my youngest daughter's weekly newsletter from preschool and she needed to make a Valentine's box! I haven't ever had to make one for my oldest daughter who is 8. After reading the letter I began thinking about possible ideas....pinterest was of no help for boxes, but it had tons of cute ideas for homemade Valentine's.

Neely is a girly girl. She likes to play dress up, have tea parties, put play make-up on, and everything else girly. So after a few days of thinking I decided to make a castle. So I gathered all my supplies:


Together, Neely and I traced out each box onto the card stock, cut it out and glued it to the box. Neely decided she wanted to use pink and purple cardstock paper.  For depth we did everyother color on the boxes. I rolled/wrapped the toilet paper rolls and paper towel rolls with aluminum foil. I made little cones for the tops of the pillars out of scrap cardstock. We taped the boxes and pilars together. I used my cricut to cut out her name, however you could stencil or use stickers.


It was a fun and easy project. She is so excited for her Valentine's Day party at preschool!


Saturday, February 4, 2012

Laundry Room

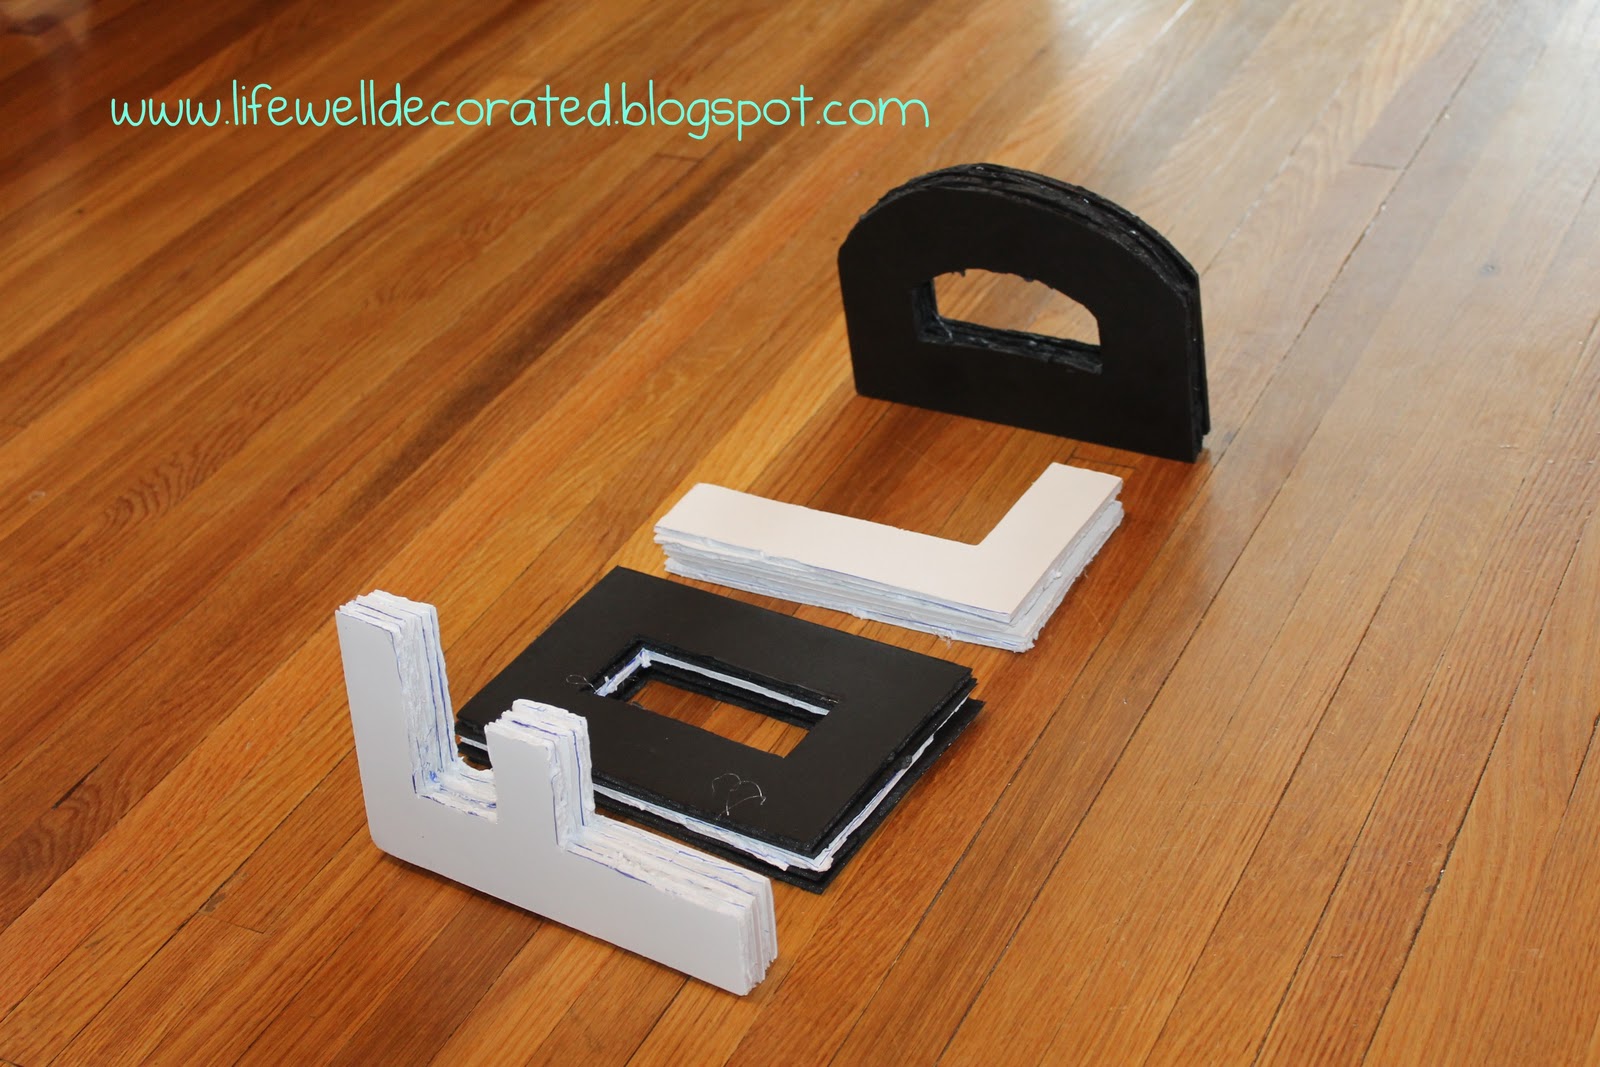
So last time I showed you how to make these yarn foam board letters:


So now I am sharing where I hung my letters up at....


My LAUNDRY ROOM!!! I used to hate laundry, because it would take 4 hours, yes 4 HOURS to do ONE load of laundry from start to finish. When we bought our house we were graciously given a dryer and we paid $100 for a washer off of Craigslist. The set was not matching, but it did the job for the most part. So after 4 years of wasting time doing laundry we decided to buy a pair of front loaders!! We shopped around for quite some time to decide on the brand and style we wanted. We decided on these:

Daewoo with Built-in Smart Detergent System

We I wanted the silver, Brian didn't really care what color we got. So we ordered them in silver and then found out the silver was backordered with no date on when we would get them...I was bummed! I had two options: 1.) I could wait or 2.) change the color to either white or wine colored. After MUCH deliberation, I decided to get the wine colored.

We placed our order again and delivery was scheduled within 2 weeks, so I prepped and painted our laundry room. I also did some pinning of laundry rooms:

Laundry Room
 Source

Laundry basket shelves
Source

organized
Source
After pinning my inspiration pictures I went to work...with the help of my husband. We made a trip to Menards and bought a sheet of 3/4" plywood, #4-2"x2"x8' and a 4ft countertop. After a sunday afternoon we had this built:


I primed and painted it with paint I had laying around. We carried it into the house and squeezed it into its little nook, glued the counter top down, and hung the shelf:

Folding table and baskets

Our washer and dryer got delivered and installed. Over time I have hung some wall decor:


I LOVE this space. It is super tiny, but totally functional. My husband thought that the counter would be a flat spot for stuff to gather on top of, but I have proven him and myself wrong! I keep this room nice and tidy. It is so easy to fold and sort each load of laundry. As nice as this room may look in the above pictures, this room is also the home to:

Exposed ceiling
Furnace

Hot water heater

eeeek! I know, but beyond those huge eye sores this room is pretty ;) I am always leaving the door open to the laundry room now, so I can enjoy its beauty:

Looking into laundry room while coming down the stairs

Well there is our laundry room! I may still change a few things up, but for now I am enjoying it as is! Do you love your laundry room?