Showing posts with label tutorial. Show all posts

Wednesday, April 25, 2012

Under the Sink Organization

It has been over two month since I have posted. I was hoping to make a post every week or at least every other week or at the bare minimum once a month...but oh well. Anywho, everytime I went to get my cleaning products or throw some trash away the mess under my kitchen sink was DISGUSTING!!! But I have ignored it for so long, but finally I decided I needed to do something about it. I don't know if deciding to clean it was from complete annoyance and disgust or nesting instinct, as I am going on nine months pregnant. Whichever it was I am thankful I decided to take on that mess!

Before--I even emptied it out a little.
All that stuff by the sink and on the floor was also under there.
I completely emptied and trashed what was old/out of date and there was tons of empty cleaning containers. I don't know why I felt the need to keep those at one time in my life, but now they are in the garbage.


Yikes! It is embarrassing posting these pictures! That pink stuff in the top picture was really ooey-gooey, perhaps it was spilt dish soap...I don't know. So I took my putty knife and scaped it across the surface and cleaned up the surface the best I could. There had been a small water leak under there one time so the board was damanged and bubbled/flaking. Next, I gathered up my supplies.

-#6 peel n' stick tiles
-tube of all-purpose adhesive
-caulk gun
 Since under the sink was not a completely smooth surface I decided to get some all purpose adhesive to make sure the tiles would stay in place. I applied it to the back of the each tile--I applied a thin bead about 2 inches from the sides all the way around tile and then made and "X" in the middle of the tile with it. I then just layed them down. I started in the front corner and worked my way to the left. When I got to the pipes I just made a notch in the tile. Next, I went to the back corner and I measured the area remaining and then I used a razor blade to score the tile to the appropriate size.


To lay the tile took literally a few minutes. I didn't set a timer, but it took way more time to empty out the area and prep the surface. I didn't allow any dry time for the tile before putting everything back in, it has held up regardless.


I am completely happy with the transformation!! The tiles leave an easy to clean surface. This project costed: $2.24 for the adhesive (I already had the caulk gun) and $.92 for each tile (I used #6) projects grand total was $7.76. I actually could of went much cheaper on the tile, but I liked the color and texture of these, so I paid the extra few cents per square foot :) I got the tile at Lowe's Item #208426 12x12 Terraza Terracotta.


Saturday, February 11, 2012

Princess Castle Valentine's Box

I was so excited when I read my youngest daughter's weekly newsletter from preschool and she needed to make a Valentine's box! I haven't ever had to make one for my oldest daughter who is 8. After reading the letter I began thinking about possible ideas....pinterest was of no help for boxes, but it had tons of cute ideas for homemade Valentine's.

Neely is a girly girl. She likes to play dress up, have tea parties, put play make-up on, and everything else girly. So after a few days of thinking I decided to make a castle. So I gathered all my supplies:


Together, Neely and I traced out each box onto the card stock, cut it out and glued it to the box. Neely decided she wanted to use pink and purple cardstock paper.  For depth we did everyother color on the boxes. I rolled/wrapped the toilet paper rolls and paper towel rolls with aluminum foil. I made little cones for the tops of the pillars out of scrap cardstock. We taped the boxes and pilars together. I used my cricut to cut out her name, however you could stencil or use stickers.


It was a fun and easy project. She is so excited for her Valentine's Day party at preschool!


Sunday, January 29, 2012

Yarn Foam Board Letters

AHHH!! Here goes nothing...my 1st blog post...

I love Pinterest. It makes me feel creative and motivated, while I am just being lazy on the couch. I also love reading skimming home decor and DIY blogs. Just a little side note about myself I HATE reading, so I will keep this post short and to the point to spare you the torture of reading.

While browsing Pinterest and blogs I came across these pictures:

Pinned Image
Source

Source
Yarn wrapped letters
Source


The cardboard letter tutorial was a great idea and concept, but I didnt want to take the time. So I came up with this idea from some things I had laying around:

Scissors, foam board, hot glue gun and wall hangers

I free handed my letters to spell FOLD. I didn't make any fine measurements with a tape measure, because I couldn't find one. I also didn't use a ruler for a straight-edge for the same reason, sooo I used this for both measuring and as a straight-edge:


It was the perfect width and length for drawing the letters out. I used a scissors and razor blade knife to cut out the letters:
Traced and cut letters

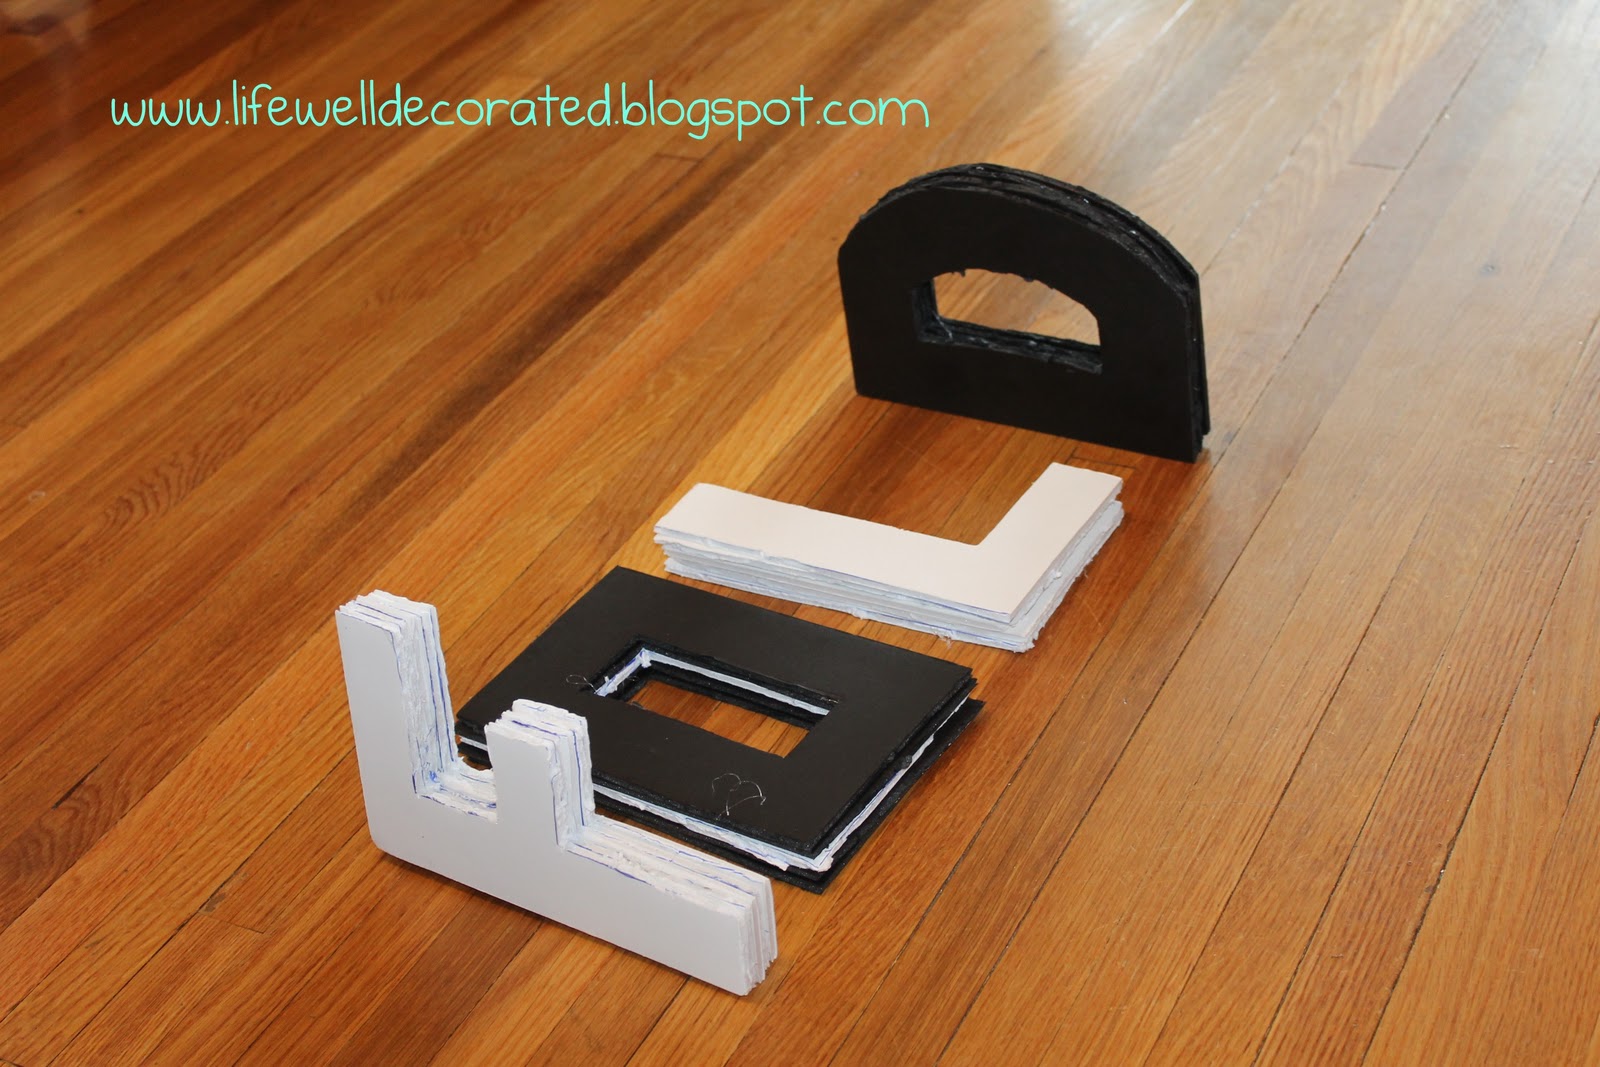
  I decided to cut five of each letter to give each letter a chuncky look. I then hot glued the letters on top of each other:


I did the same steps for each letter:


My mom had some extra variegated yarn and I wrapped it around each letter without any rhyme or reason to my method. I untangled many knots in the yarn and came to this final product:


I then hot glued hangers to the back of each letter:


.....and hung them:


I LOVE how they turned out! I am guessing you are wondering why in the world I would spell the word FOLD!!???!! Can you guess where I hung these at?? I will share that in my next post!!

Andrea