Saturday, February 11, 2012

Princess Castle Valentine's Box

I was so excited when I read my youngest daughter's weekly newsletter from preschool and she needed to make a Valentine's box! I haven't ever had to make one for my oldest daughter who is 8. After reading the letter I began thinking about possible ideas....pinterest was of no help for boxes, but it had tons of cute ideas for homemade Valentine's.

Neely is a girly girl. She likes to play dress up, have tea parties, put play make-up on, and everything else girly. So after a few days of thinking I decided to make a castle. So I gathered all my supplies:


Together, Neely and I traced out each box onto the card stock, cut it out and glued it to the box. Neely decided she wanted to use pink and purple cardstock paper.  For depth we did everyother color on the boxes. I rolled/wrapped the toilet paper rolls and paper towel rolls with aluminum foil. I made little cones for the tops of the pillars out of scrap cardstock. We taped the boxes and pilars together. I used my cricut to cut out her name, however you could stencil or use stickers.


It was a fun and easy project. She is so excited for her Valentine's Day party at preschool!


Saturday, February 4, 2012

Laundry Room

So last time I showed you how to make these yarn foam board letters:


So now I am sharing where I hung my letters up at....


My LAUNDRY ROOM!!! I used to hate laundry, because it would take 4 hours, yes 4 HOURS to do ONE load of laundry from start to finish. When we bought our house we were graciously given a dryer and we paid $100 for a washer off of Craigslist. The set was not matching, but it did the job for the most part. So after 4 years of wasting time doing laundry we decided to buy a pair of front loaders!! We shopped around for quite some time to decide on the brand and style we wanted. We decided on these:

Daewoo with Built-in Smart Detergent System

We I wanted the silver, Brian didn't really care what color we got. So we ordered them in silver and then found out the silver was backordered with no date on when we would get them...I was bummed! I had two options: 1.) I could wait or 2.) change the color to either white or wine colored. After MUCH deliberation, I decided to get the wine colored.

We placed our order again and delivery was scheduled within 2 weeks, so I prepped and painted our laundry room. I also did some pinning of laundry rooms:

Laundry Room
 Source

Laundry basket shelves
Source

organized
Source
After pinning my inspiration pictures I went to work...with the help of my husband. We made a trip to Menards and bought a sheet of 3/4" plywood, #4-2"x2"x8' and a 4ft countertop. After a sunday afternoon we had this built:


I primed and painted it with paint I had laying around. We carried it into the house and squeezed it into its little nook, glued the counter top down, and hung the shelf:

Folding table and baskets

Our washer and dryer got delivered and installed. Over time I have hung some wall decor:


I LOVE this space. It is super tiny, but totally functional. My husband thought that the counter would be a flat spot for stuff to gather on top of, but I have proven him and myself wrong! I keep this room nice and tidy. It is so easy to fold and sort each load of laundry. As nice as this room may look in the above pictures, this room is also the home to:

Exposed ceiling
Furnace

Hot water heater

eeeek! I know, but beyond those huge eye sores this room is pretty ;) I am always leaving the door open to the laundry room now, so I can enjoy its beauty:

Looking into laundry room while coming down the stairs

Well there is our laundry room! I may still change a few things up, but for now I am enjoying it as is! Do you love your laundry room?

Sunday, January 29, 2012

Yarn Foam Board Letters

AHHH!! Here goes nothing...my 1st blog post...

I love Pinterest. It makes me feel creative and motivated, while I am just being lazy on the couch. I also love reading skimming home decor and DIY blogs. Just a little side note about myself I HATE reading, so I will keep this post short and to the point to spare you the torture of reading.

While browsing Pinterest and blogs I came across these pictures:

Pinned Image
Source

Source
Yarn wrapped letters
Source


The cardboard letter tutorial was a great idea and concept, but I didnt want to take the time. So I came up with this idea from some things I had laying around:

Scissors, foam board, hot glue gun and wall hangers

I free handed my letters to spell FOLD. I didn't make any fine measurements with a tape measure, because I couldn't find one. I also didn't use a ruler for a straight-edge for the same reason, sooo I used this for both measuring and as a straight-edge:


It was the perfect width and length for drawing the letters out. I used a scissors and razor blade knife to cut out the letters:
Traced and cut letters

  I decided to cut five of each letter to give each letter a chuncky look. I then hot glued the letters on top of each other:


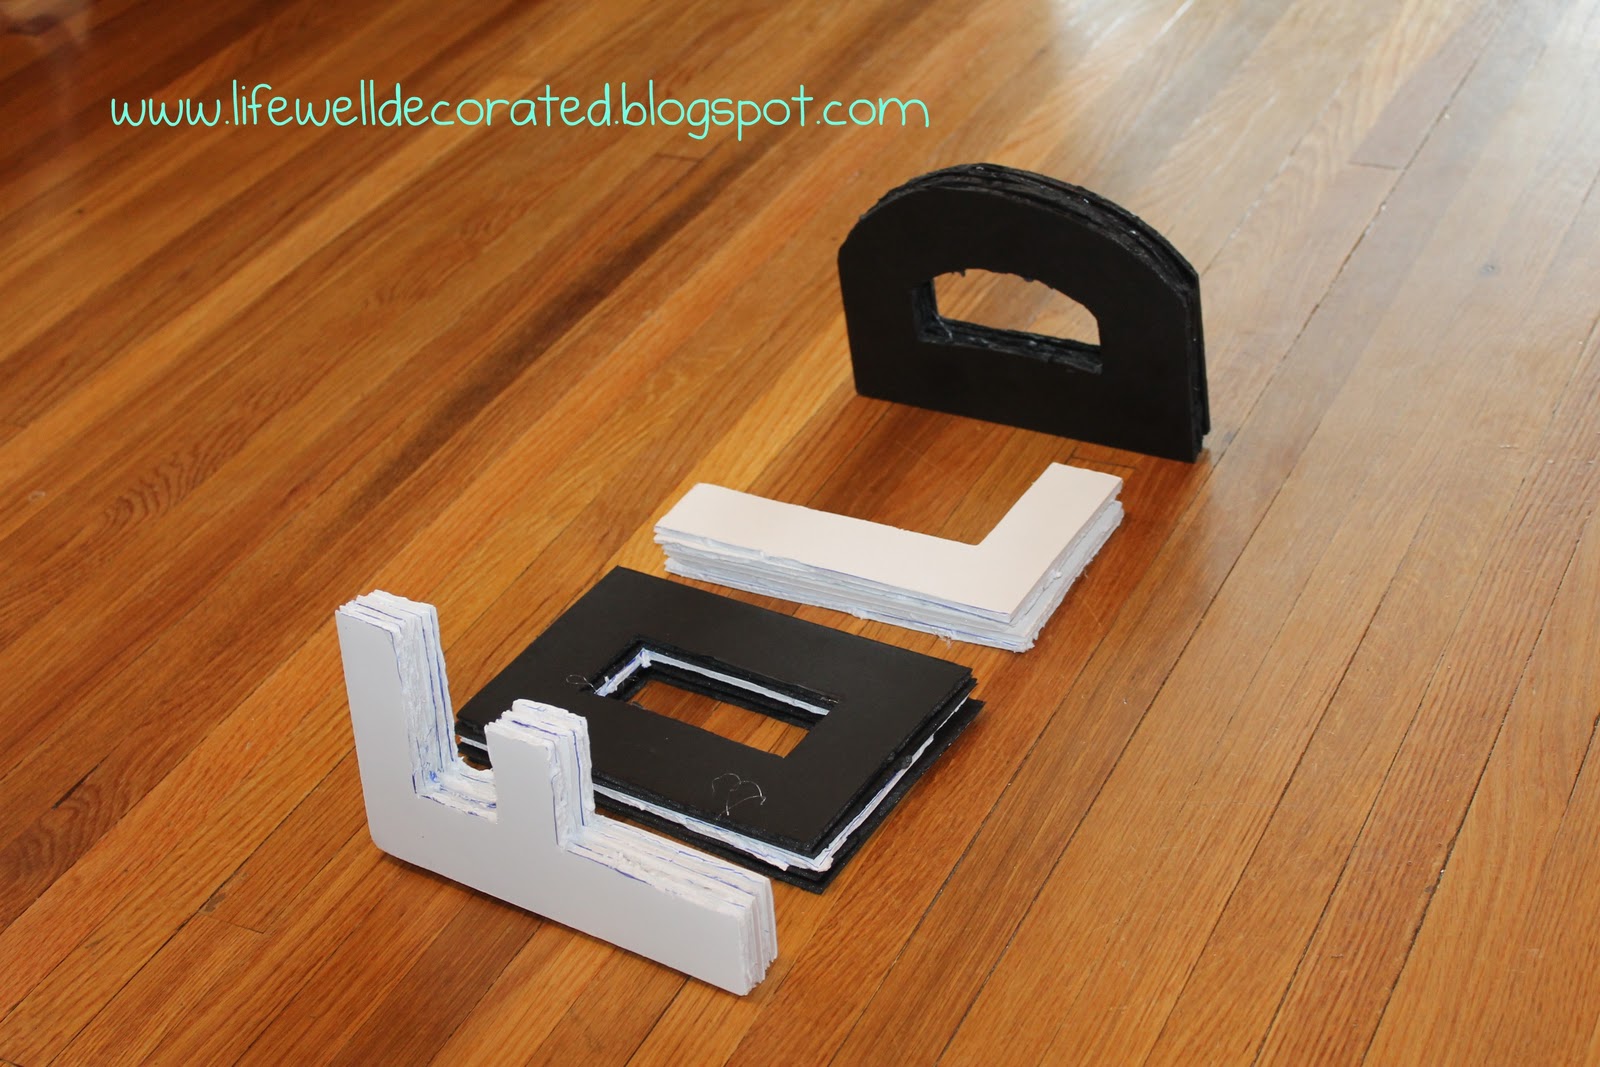
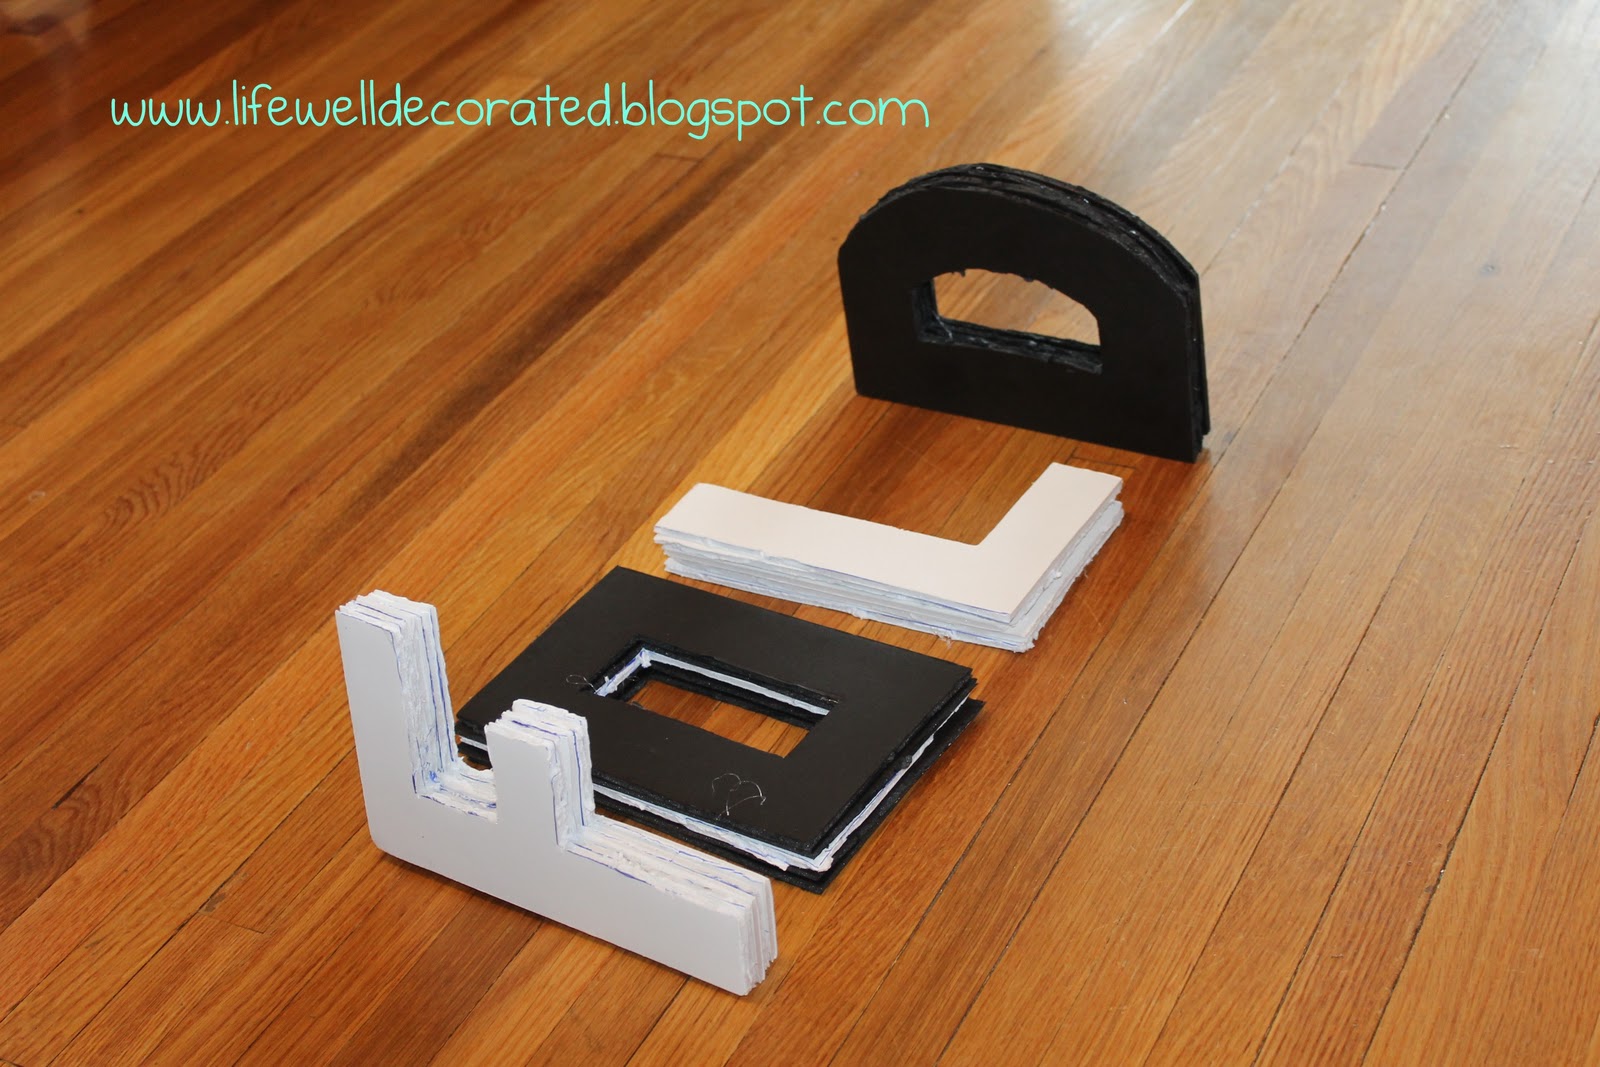
I did the same steps for each letter:


My mom had some extra variegated yarn and I wrapped it around each letter without any rhyme or reason to my method. I untangled many knots in the yarn and came to this final product:


I then hot glued hangers to the back of each letter:


.....and hung them:


I LOVE how they turned out! I am guessing you are wondering why in the world I would spell the word FOLD!!???!! Can you guess where I hung these at?? I will share that in my next post!!

Andrea